
81% is not a guarantee: checks before tempering in Lords Mobile
Astralite stock, the selected quantity and success rate are different values. Read two original game screens and assess the next upgrade before confirming.
Published
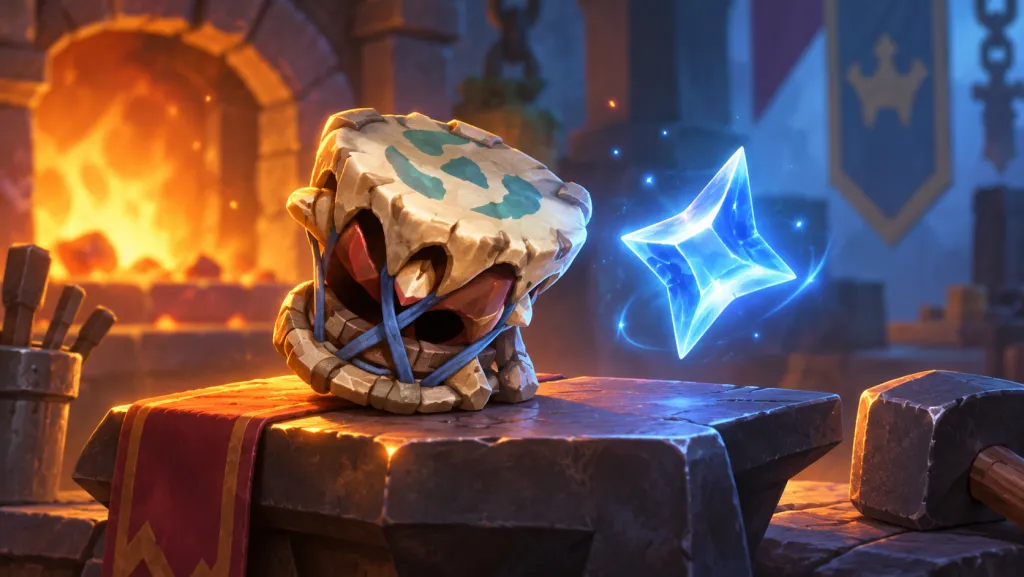
An 81% success rate leaves a 19% chance of failure. Almost certain is still not a guarantee. The Lords Mobile probability guide explains why one poor result does not establish an error in the percentages. Here we examine the tempering screen: the three values to check before confirming, and why your Astralite stock alone is not enough for a decision.
The starting point is a September 24, 2026 Reddit discussion in which a player reported failing at 81%. It is an individual report, rather than a measurement of the actual probability. To read the interface, we use two original game screenshots from Chinchilla's guide, published January 7, 2026. The client version is unspecified; the figures below belong to those images. Check your own conditions in the game.
Stock, selected quantity and success rate are different numbers
Tempering strengthens equipment using Astralite. On the screen examined here, the item, current-to-next tempering step and bonus changes appear on the left. Materials, quantity selection and success percentage appear on the right. They answer different questions: what you are improving, what you are using and the stated chance.
The first screen shows Fear Drum at +6, with the next step +7. On the right are two materials: a stock of 54 Gargantua Astralite and 30 ordinary Astralite. The selected amount below is nevertheless 0 / 140, and the success line shows 0%. Materials you own and materials selected for the operation are not the same thing.
Check more than the number beside a resource icon. Find the separate quantity counter and success line. If you change the material or slider position, reread the final percentage before confirming. Do not calculate it by simply adding your stock amounts: the screen contains different resource types, whose application must be checked for the particular item. Open the first screen at full size.

Choose the item and useful increase before the percentage
The Fear Drum screen shows Cavalry ATK moving from 25.28% to 26.24%, an increase of 0.96 percentage points. That changes the item's stated bonus; it does not promise 0.96% more total damage in every battle. To compare two items, record each one's current step, next step and the difference in the stat you need.
The second screen shows a different item, Hunting Helm: +5 to +6, a stock of 30 ordinary Astralite, a selected amount of 0 / 17 and a 0% chance. It has no specialized-Astralite row like the Drum screen. The same stock of 30 does not make the screens equivalent: the item, tempering step and number after the slash differ.
Do not transfer 17 to another item or treat 140 as the universal cost of a next level. They describe two particular states. For a hunting goal, start with the helmet bonus you need; for Cavalry, start with the relevant combat stat. The most prominent percentage does not itself identify a useful upgrade.
The purple-versus-gold Hunting Helm comparison explains the difference between old and new values for a separate upgrade: item grade. Changing grade and tempering are different processes. What transfers is the method of comparing the added benefit rather than the entire new bonus. Open the helmet screen at full size.

What 81% actually means
If the selected attempt shows an 81% success rate, the complement to 100% is 19%. Failure remains possible under that stated rate. One failure does not turn 81% into a hidden 50%, just as one success does not verify the percentage. Testing the frequency requires defined conditions and a complete series of observations, as in the chest guide.
Two attempts at 81% do not add up to 162% success. In a hypothetical model with independent attempts and a constant chance, the probability of at least one failure across two attempts is 1 − 0.81 × 0.81 = 34.39%. This is our mathematical example, rather than a verified model of the game's algorithm. It shows why probabilities from separate attempts cannot simply be added.
Neither these two screenshots nor the player's account establishes how materials are consumed on failure or whether additional conditions apply. We therefore give no advice about the best-value percentage or the cost of a series. Such a conclusion first needs the game's current consumption rules, followed by a separate calculation.
Check before pressing the button
Item and step: read the name and both values beside the arrow. Benefit: subtract the current bonus from the next one. Attempt settings: check the material type, selected amount and displayed percentage. The stock shown above is not a substitute for these fields.
If you want no failure under the stated probability, the reference is 100%, rather than almost 100%. If the available setting is lower and you cannot accept that outcome, postpone the attempt. Before spending materials, open the information icon beside the tempering heading and read the current conditions. Save the screen before confirming so you retain the exact item, step, material and chance needed to examine the result.