

Carp not biting on the bottom? Check before switching to a zig rig in RF4
Use water temperature as a search clue, understand floating foam and compare leader lengths. Three original water-layer diagrams offer no guaranteed bite recipe.
Published · Updated
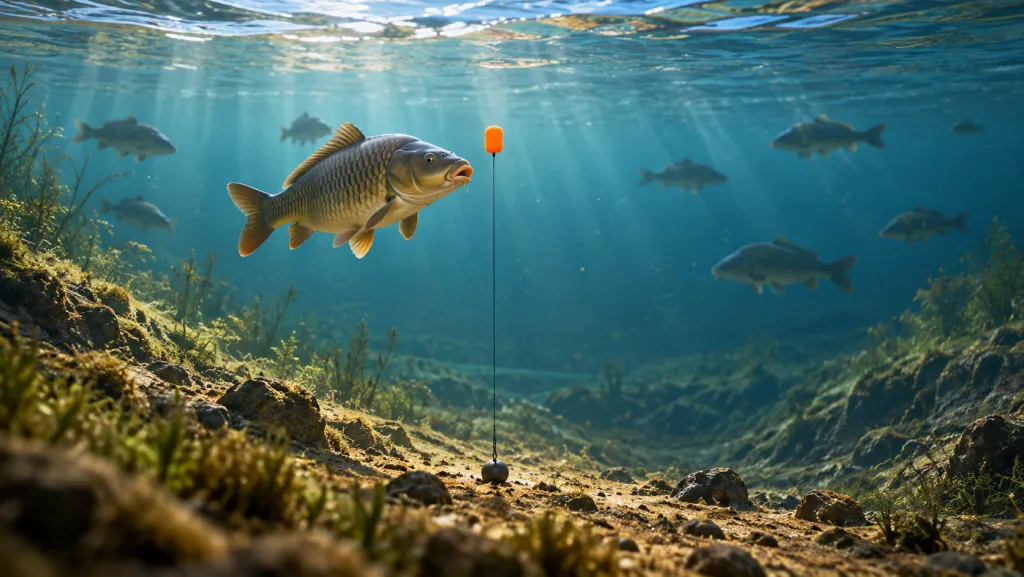
Your usual spot is quiet: should you immediately replace a bottom rig with a zig rig? First compare conditions using our RF4 guide to other players’ spots and reports; matching coordinates are not enough. Then test a separate hypothesis: the water layer where you present the bait. Here is what foam changes, why leader lengths matter and what the developer’s three diagrams actually establish.
Water temperature suggests where to search
Water temperature describes the water, not the air-temperature reading. In the official 16 May 2024 patch, the developers added its display for Yantarny, Medvezhye and Medny and linked it to finding fish positions. That is the patch’s historical list, not a verified complete list of today’s waterbodies. Check the readings available in your client.
Developer Levo’s zig-rig guide explains that in low temperatures carp may move into sun-warmed upper layers. May matters: a weather report does not prove every fish is near the surface. Your fishing layer is where the bait is presented; that is what you need to test while keeping the other conditions understandable.
Foam rises while the sinker stays near the bottom
A zig rig uses floating foam to present bait above the bottom. Foam here is a purpose-made floating bait for this setup. The guide says the leader determines its position. In the diagram, the orange element sits above a dark sinker; the long connecting section illustrates the principle. It is a rig diagram, not a depth measurement at a specific spot.
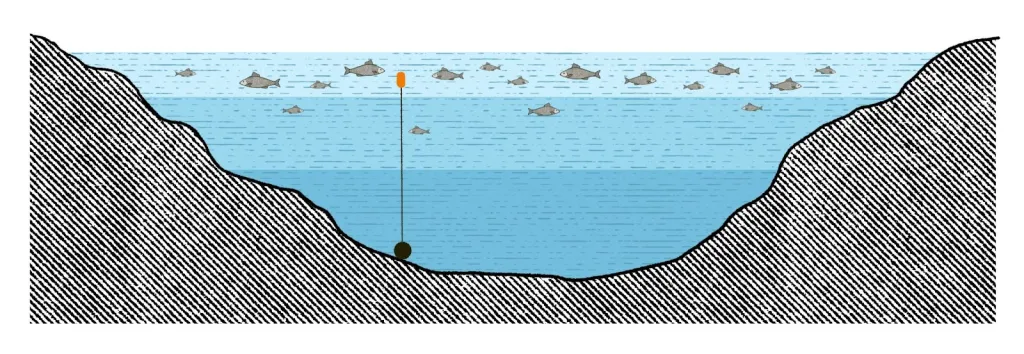
Use the full upper-layer original to compare foam and fish positions. Do not measure the leader in pixels: there is no scale. If a report gives centimetres, establish which component they describe. Leader length and distance below the surface are different quantities; this diagram does not make them equal on every terrain. If depth is unknown, start with marker depth measurement: bottom depth differs from the bait-presentation layer.
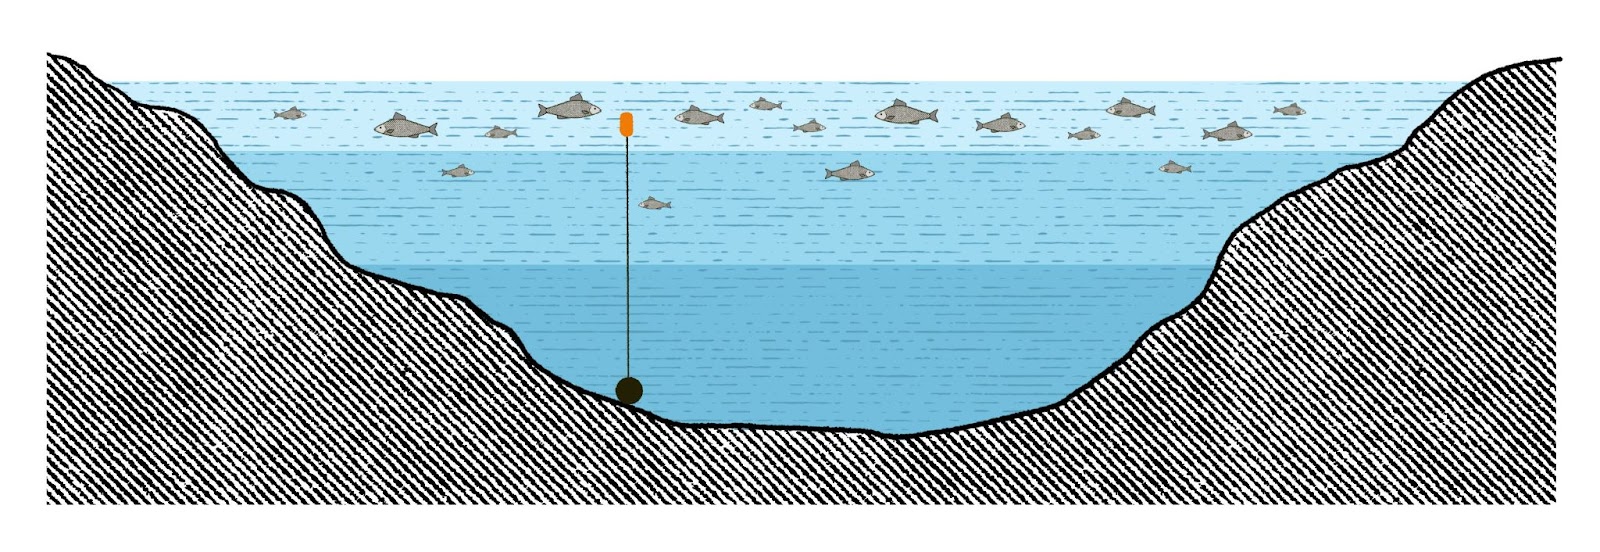
A leader is the section between main line and terminal rig. The author recommends nylon for a zig rig, relating the choice to buoyancy. That is the source guide’s recommendation, not a reason to buy any spool based on its name alone. Read the current material details and rig requirements before crafting.
Compare layers instead of copying centimetres
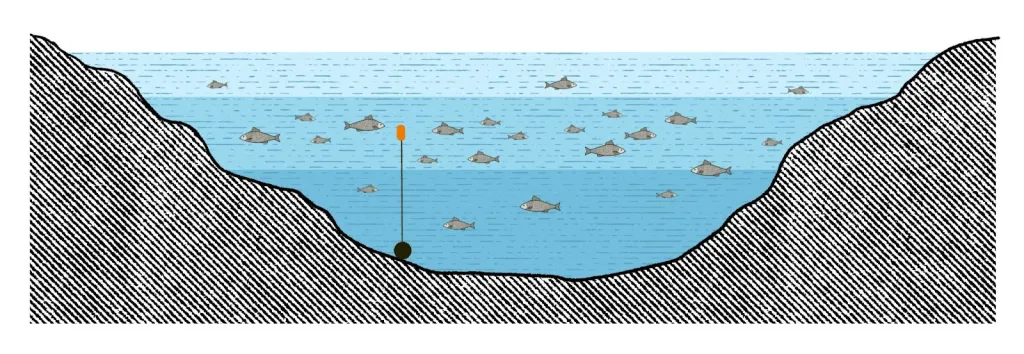
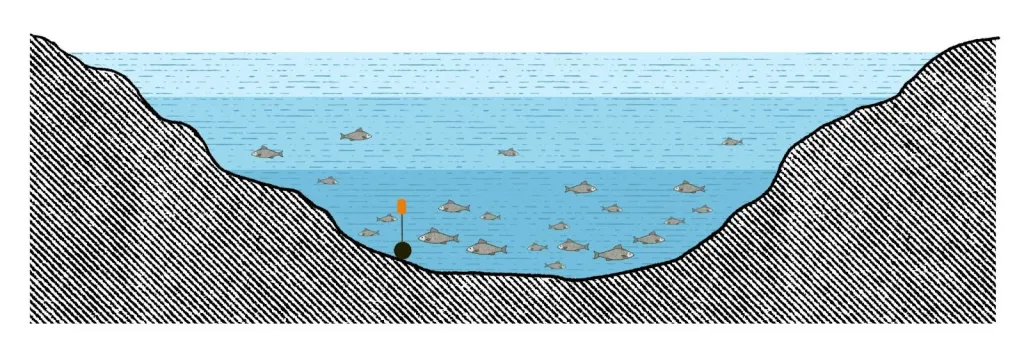
The midwater original places the foam lower than in the first diagram. Compare its position relative to the bottom and fish. The Midwater area label does not say a particular temperature necessarily sends carp there. That precision cannot be derived from this diagram.
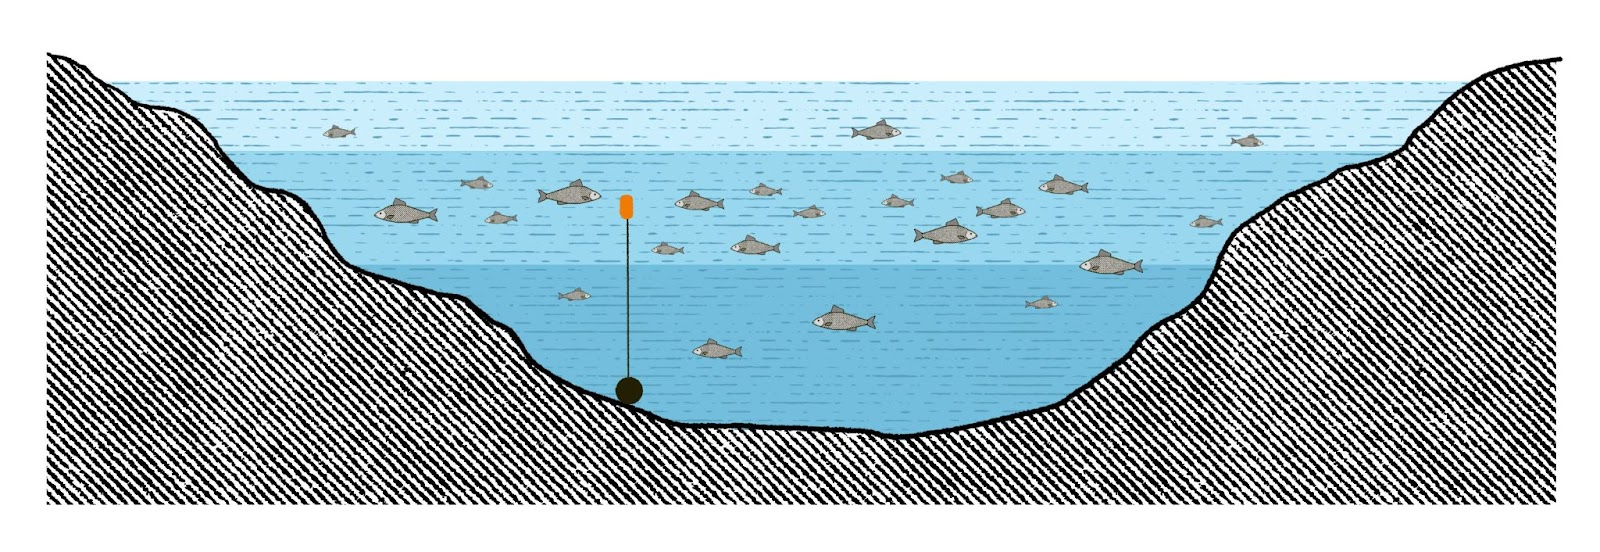
The guide suggests testing layers with several rods and different leader lengths; 30 or 50 cm are example increments, not a mandatory recipe. Record the starting setup, changed parameter and observation. Changing spot, foam, material and length together makes the cause of a result difficult to identify. Record empty observation periods too, without treating them as proof of a broken rig.
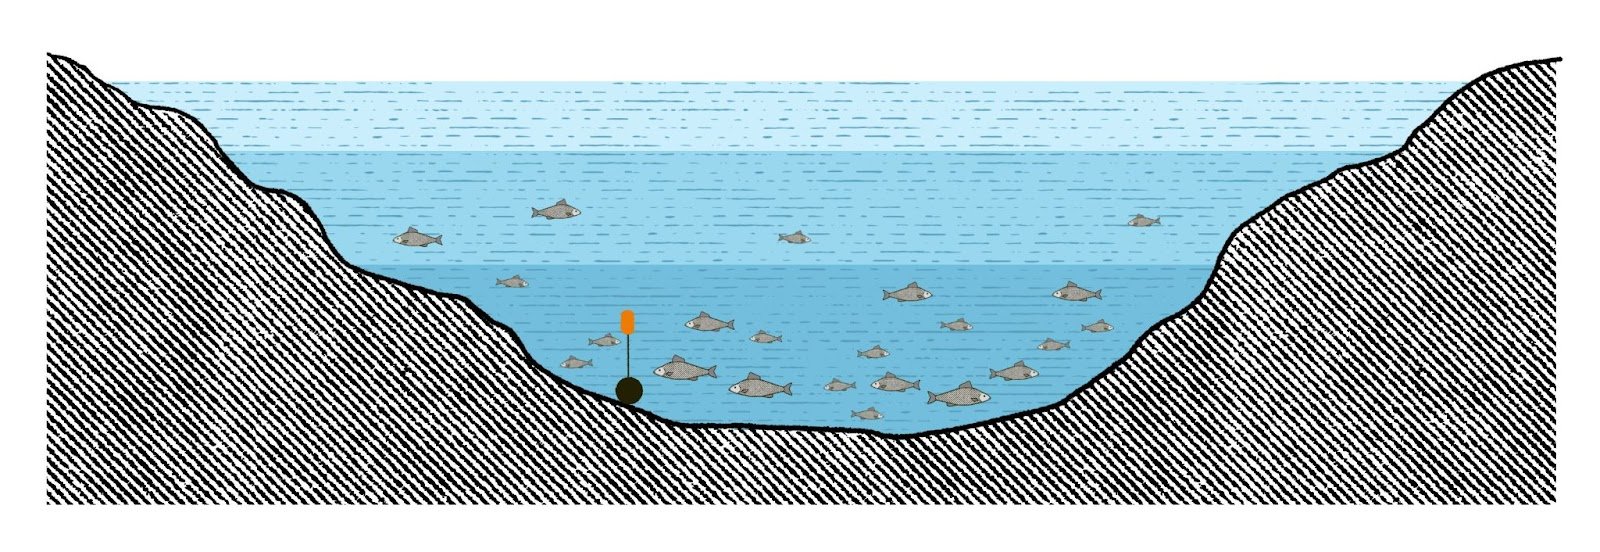
The near-bottom original has a shorter connecting section. The three images compare presentation options; they do not establish a universal cold–normal–hot sequence with fixed results for every lake. The guide also considers a zig rig above silt or vegetation, so cold need not be the only reason to test it.
Before buying a new setup
Open the selected rig’s requirements first. For access questions, review skill progress versus unlocked abilities. A rig is a way of assembling tackle for a method; an item in the backpack does not describe the entire setup. Take exact requirements from the current client, not an old table or someone else’s catch caption.
Before fishing, run a load and weakest-link check. Leader length concerns presentation here; it does not replace strength checks. A useful comparison log records waterbody, game time, available water reading, rig, leader material and length, foam and observed result. That is a test log, not a catch formula.
Start with conditions, check rig access and test one clear presentation. Compare it with a changed length and record the differences. This supports a specific tackle question. Neither 2024 diagrams nor someone else’s successful report promise a bite in ten minutes, universal length or hourly income. This article establishes no exact temperature threshold.